MyMenu1

Sunday, August 24, 2014

Memorable Teacher Appreciation gift

Teachers shape our lives
They make it bright
Teachers guide our ways
Saying thanks is right!

Every year we have a new teacher who does her/his part in molding our lives. Come year end, we move on to a higher level leaving the teacher behind. But they will stay in our hearts forever. How about giving them a small token of love and appreciation? That's what we do for the kids' teachers, most prevalently in the US. There is a Teachers Appreciation Week in the month of May. Apart from that we can also show our gratitude by the year end.  I took up that charge in my son's preschool in May 2012. We had two wonderful teachers.
Teachers' day is close by and I thought it would be appropriate to publish my long awaiting post.

Tuesday, August 19, 2014

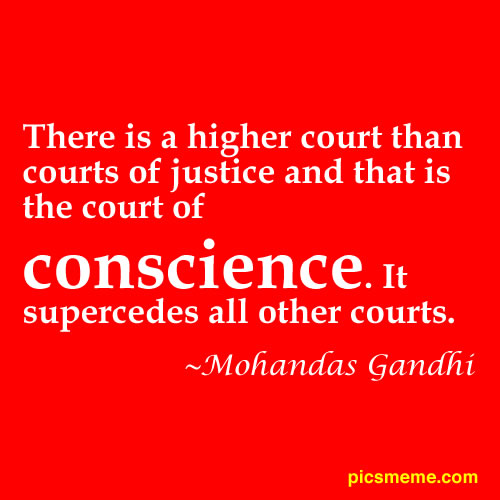
Conscience


Image:Thanks Google
Is it right? Is it wrong?
Does it possess a moral sense?
What will he think?
What will she think?
Doesn't matter at all
What the conscience thinks
Is the most appropriate
Ethically, legally and morally!

Monday, August 11, 2014

Watermelon summer craft

I bought dates which was packed in a styrofoam tray. After transferring the dates to an air-tight box, I rinsed the styrofoam tray and let it dry thinking to do something with that later. Coincidentally I had bought watermelon that day. Something brightened inside me that I painted the tray red and let it dry. But I didn't do anything further because of other chores. Then I came across the summer food challenge in Open minded crafting challenges blog. Thereafter I finished my styrofoam watermelon.


And then I cut it into slices so that I get a nice shaped ones. And of course, Cinderella was happy to join me over tea watermelon. :)

Quench your thirst with watermelon this summer.

Linking this to Open Minded Crafting Fun Challenges challenge #16 - Summer food.

Tuesday, July 15, 2014

'A' words scrapbook - Kindergarten activity

My son who is in Kindergarten had a weekend assignment to make a scrapbook with 'a' vowel words. So we sat down with a bunch of newspapers and magazines. I helped him cut out the words by himself and paste in the 'A' shape papers I had cut out. I told him that we'll select a word that begins with 'a' and then do the scrapbook in that object's shape. But he opted to make it in 'A' shape itself and it sounded intelligent to me.

It was funny to watch him search for 'a' words while I could see many of them popping before my eyes. :) We absolutely loved making this project together. I actually want to do more ;-)


Bumblebee too was happy to see this :)

Tuesday, July 8, 2014

Newspaper Photo Frame - DIY


Cut out rectangular strips from newspaper. Roll them tightly with a pencil applying glue at the beginning and end. Remove the pencil. Many many such paper rolls. Then glue few of them together, (I glued 15 rolls) to make the base of the frame.


Paint it once dry. Then glue two on the lengthwise edges. Glue two over the breadth wise edges leaving gap on one side for a photo to be inserted. Paint these rolls too. Then cut out small circles from a paper roll and make a flower with those.
Use two rolls to make a stand at the back for the frame to stand. 
My son wanted a picture from TopGear mag to be displayed on his table.

Linking this to 

Sunday, July 6, 2014

Pop-up Birthday Card - DIY

Birthday card for neighbouring princess Tweesha.
I made the pop-up card from cardboard and pasted red constructed paper on the outside. My son chose red color for his little friend Tweesha who is turning three today.
I made the flowers from the tie-and-die napkin which I had made earlier.


The card is handwritten by my younger son. He wanted to write "Happy Birthday Happy Journey". I asked, "Why journey?" He said, "Life is a journey"!! And he is just 5 years old!! :)
He also painted the little flower at the bottom. He wanted purple flowers because that's Tweesha's favorite colour. He was so excited to make the card and couldn't wait for the party time!!


Linking this to
Paper Crafting Challenges #13 Anything Goes.
Beyond Grey Challenges BGC#54 - Lets get Kiddish 

Saturday, July 5, 2014

Paper napkin tie-and-die


Take a paper napkin and put rubber bands here and there. Draw around the rubber band with markers. Sprinkle drop of water over the marked area and leave it for sometime. The colour will spread. After sometime carefully remove the rubber bands and smooth out the paper napkin. You will see beautiful tie and die art.